Navigation: Basic Working Procedures > Schedule Board > Perform Schedule Slot Tasks > Change Schedule Slot Details >
Customer Signature Tab


|
Navigation: Basic Working Procedures > Schedule Board > Perform Schedule Slot Tasks > Change Schedule Slot Details > Customer Signature Tab |
  
|
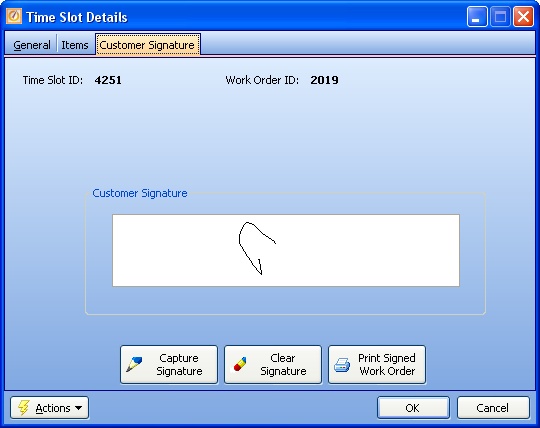
You can open the Customer Signature Tab on the Schedule Slot Details screen to review or Print a Customer Signature. Instructions for Signature Capture are given below.
Here is a sample of the Customer Signature Tab:

Note the button at the bottom right, allowing you to Print the Signed Work Order.
This is how the on-site Technician accepts the signature into the system:
| 1. | Right-click the Schedule Slot shown on the Schedule Board. From the Actions menu select Capture Signature. |
| 2. | Or, use the Capture Signature button, shown above at the bottom of the Customer Signature Tab. |
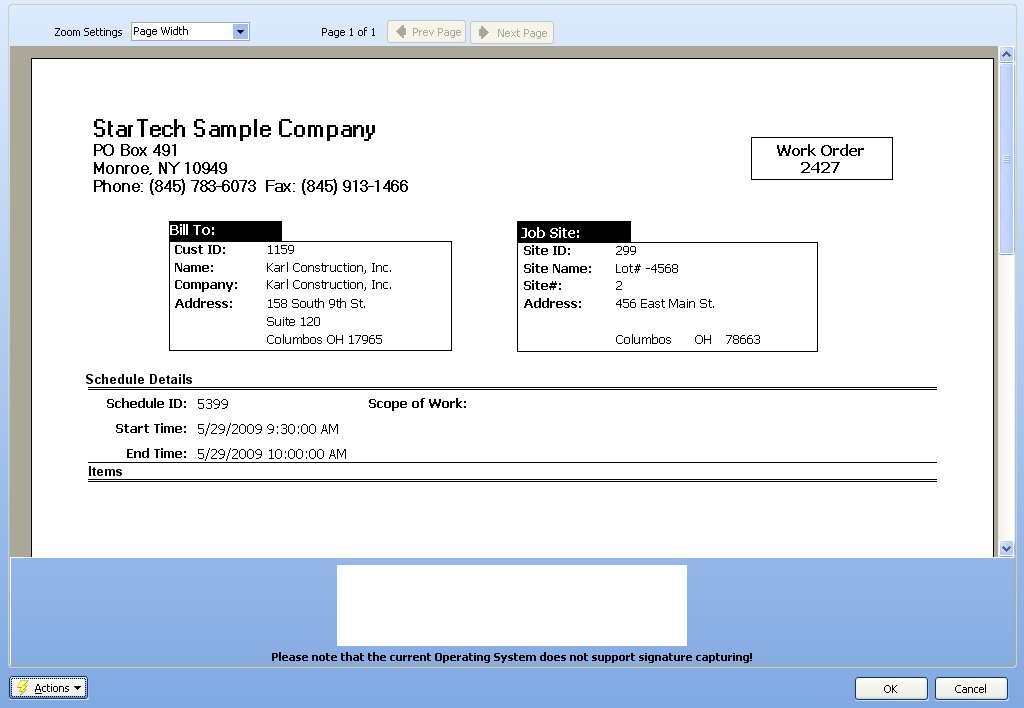
| 3. | The Capture Customer Signature screen appears, with the Signature Pad at the bottom, as shown below. |
| 4. | The on-site representative for the Customer then signs on the Signature Pad. |
| 5. | The Technician clicks the OK button to accept the digital copy into the system. |
Capture Customer Signature screen:
Notice that in this example, the software has not yet been configured to support the Signature Pad. Refer to the instructions for your Signature technology:
| • | Tablet PC - requiring the Professional Edition (http://www.fieldone.com/pricing.htm) |
| • | FieldOne Mobile™ - www.fieldone.com/mobile/ |

Click on the Print button at the bottom of the screen.
Next you will see the Print Confirmation Screen, where you select the Template for printing.
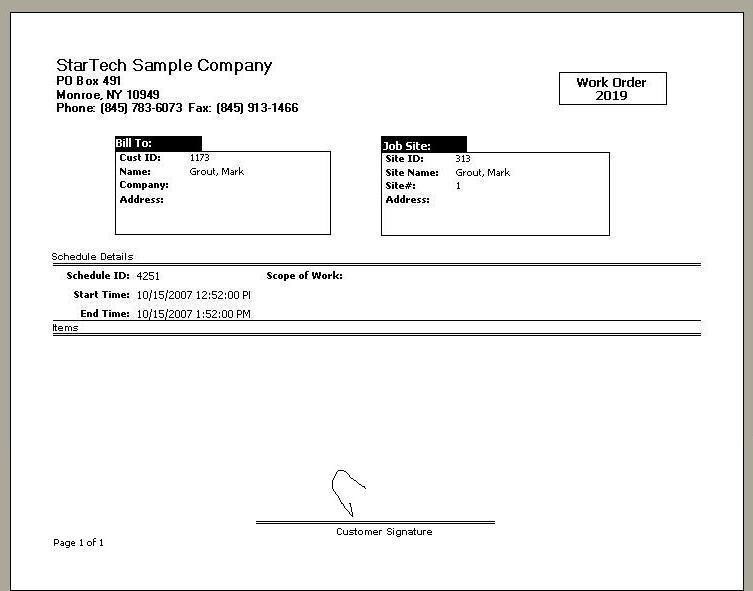
The System Report Template for the Work Order Signature Report has a number of sections. (See Company Preferences, System Reports to customize your own Template.)
| • | Company and Work Order Heading |
| • | Bill To and Service Location Information |
| • | Schedule Slot Details, including Work Description, if any |
| • | Items, including Parts and Labor, if any |
| • | Customer Signature, at bottom |
